You come home late. It's dark. Your outdoor stairs are pitch black. You're fumbling for the next step.
This is a classic scenario for a bad fall. Outdoor stair lighting isn't just decorative; it's a real safety issue, especially in wet weather or winter. Yet, most homes have little to no proper lighting.
In this article, we'll review three effective approaches, their limitations, and how to choose the right one for your situation—whether you're a homeowner or renter, DIY enthusiast or not.
Why Outdoor Stairs Are a Nighttime Hazard Zone
Most household accidents involving stair falls happen in two situations: wet surfaces and poor visibility. Nighttime combines both risks. The problem isn't just total darkness; it's the lack of visual contrast between steps.
To see a step clearly, you don't need blinding light. You need grazing light that reveals the edge of each step and creates a subtle shadow on the riser. This contrast helps your eyes (and brain) instantly assess the depth and height of each step.
An overhead light or a lamp placed too high and far away isn't enough: it illuminates the stairs from above, washing out shadows and flattening the entire area. You see light, but you don't see the steps.
How Much Light Do You Need for Safe Outdoor Steps?
For safety, lighting positioned at step height or on the ground, even if modest, is more effective than a strong light source from above. The angle matters more than lumens. A well-placed step light in the riser is enough to define each step. A wall sconce at the top of the stairs, if properly angled downwards, can illuminate the entire staircase from a single point.
Should Outdoor Stair Lighting Be Permanent or Motion-Activated?
Both work, but motion detection offers a significant safety advantage: the light turns on before you reach the first step, provided the sensor is well-positioned. You won't be fumbling for a switch in the dark. You arrive, and the light is already on. This makes a real difference, especially on rainy nights or when carrying groceries.
Solution 1: LED Recessed in the Riser
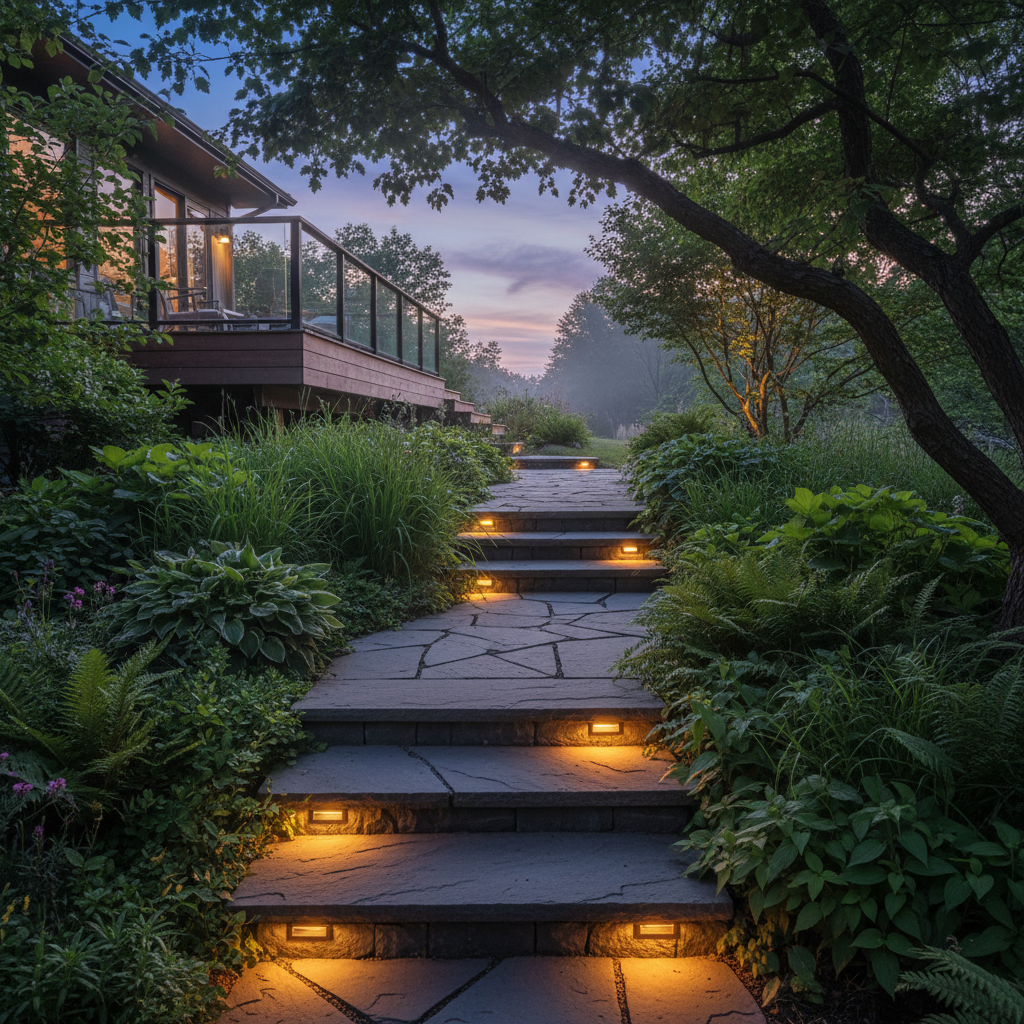
This is the most visually discreet option and technically the most effective for grazing light. Each riser (the vertical face between two steps) gets a small recessed LED spot that projects light forward and downward, perfectly revealing the edge of the next step.
What It Looks Like
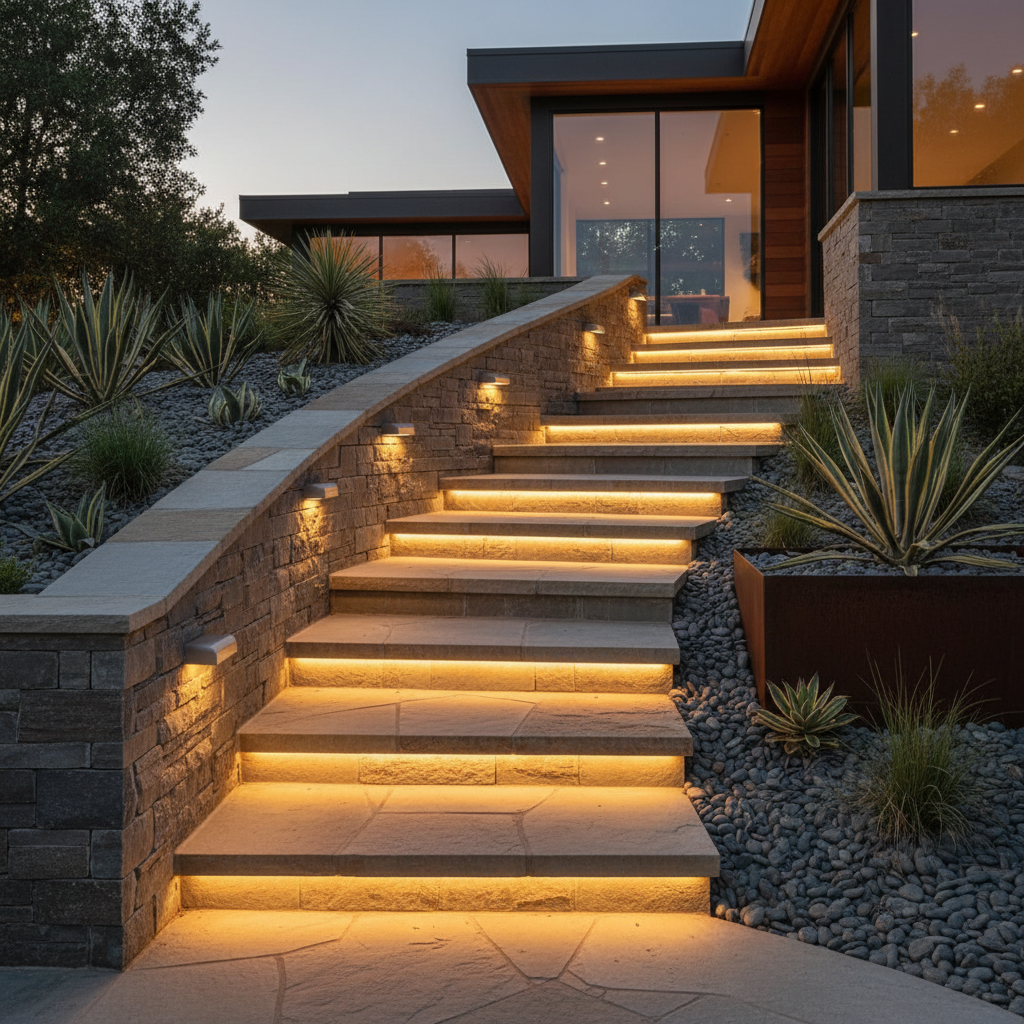
The result is very clean: no visible fixtures during the day, just a thin line of light at foot level at night. This is the most aesthetically pleasing option, often seen in contemporary homes. Recessed riser lights are typically stainless steel or resin, with an IP67 or IP65 rating, meaning they are resistant to immersion and harsh weather.
The Real Constraints
This type of installation requires low-voltage electrical wiring behind each riser. This involves significant electrical work: cutting into concrete or stone, running a cable to a transformer, and connecting each light. If your stairs are poured concrete, it's feasible but costly. If they're natural stone or wood, the complexity increases. For this solution, an electrician or mason is usually essential. It's the most beautiful option—but also the most demanding in terms of budget and labor.
Solution 2: Ground-Level or Base-of-Step Lights (IP67)
This approach places bollard lights or in-ground lights at ground level, either along the steps or at the base of the staircase. The principle is similar to recessed riser lights: low light, grazing angle, good visibility of step edges.
What's the Difference from Recessed Riser Lights?
Ground-level lights illuminate the stairs from bottom to top, while recessed riser lights illuminate step by step from the vertical face. The visual result is different: ground-level lights create a more dramatic effect with upward shadows, which can be very effective or slightly harsh depending on the chosen brightness. For purely safety purposes, both work well. The difference is mainly aesthetic.
Installation: Simpler, But Still Wired
Most IP67 in-ground or surface-mounted lights are still wired. They require an outdoor electrical cable, appropriate cable protection for high-traffic areas, and a connection to mains power or a waterproof junction box. It's not as invasive as recessed riser lights, but it's not a no-drill installation either. If you're looking for a wireless option, consider the next solution. For more on different types of solar lights, our guide on choosing outdoor solar spotlights covers available options.
Solution 3: Wall Sconce at the Top of the Stairs
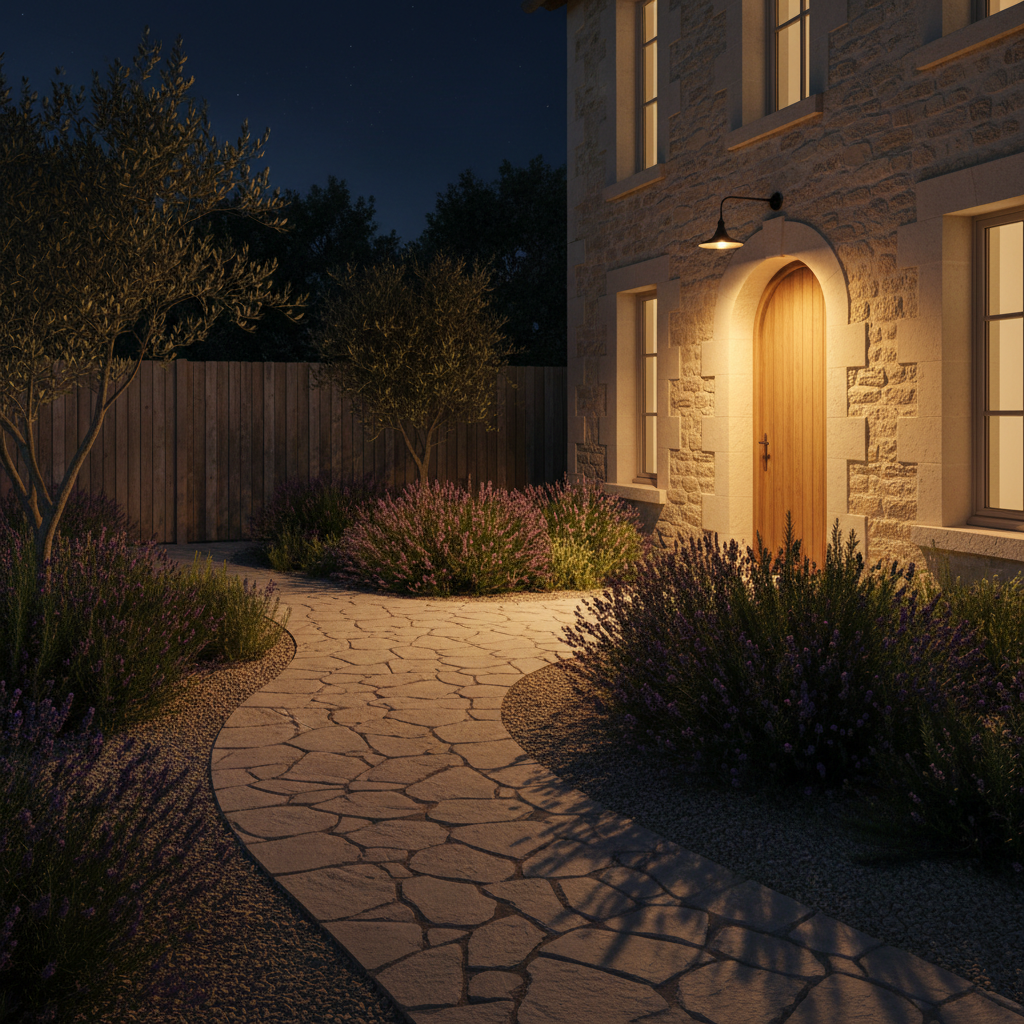
This is often an underestimated solution, yet it's probably the smartest in most cases. A single wall sconce placed at the top of the stairs, angled downwards, illuminates all steps from a single point.
No need for a fixture per step. No need for cables in the risers. The light cascades down all steps at once, naturally creating shadows that define each step. If the sconce is powerful enough and well-positioned, it's just as effective for safety—and infinitely simpler to install.
Why This Solution Works Without Major Work
An outdoor wall sconce with a motion sensor can be installed with a simple wall mount. If you choose a solar version, you don't even need electrical access: the integrated solar panel recharges the battery during the day, and the light works at night. Zero cables in the steps, zero cutting into concrete.
To understand how motion detection truly works and its impact on outdoor lighting effectiveness, it's helpful to read about how motion sensors for lighting really work.
How to Position the Sconce for Good Grazing Light
Ideally, the sconce should be mounted at chest height or slightly above, at the top of the first wall of the staircase. If it's too high (10 feet or more), it flattens the steps like an overhead light. If positioned correctly (between 5 and 8 feet), it creates the exact angle that reveals step edges.
For a motion-sensor sconce, the sensor should be aimed towards the top of the stairs (where you approach), not downwards. This way, the light turns on before you step onto the first stair.
Comparative Table of the 3 Solutions
| Criterion | Recessed Riser LEDs | Ground-Level IP67 Spots | Wall Sconce |
|---|---|---|---|
| Work Level | Heavy (electrician required) | Medium (outdoor wiring) | Light to None (if solar) |
| Safety Effectiveness | Very High | High | High |
| Aesthetics | Exceptional | Good | Good to Very Good |
| Renter-Friendly | No | Difficult | Yes (if solar) |
| Motion Detection | Possible (variant) | Possible (variant) | Often Integrated |
| Lighting Angle | Grazing (optimal) | Low (very good) | Downward (effective) |
The Special Case of Solar Solutions: What It Really Changes
The solar version of the wall sconce deserves its own paragraph because it fundamentally changes how you approach the problem. You no longer need to figure out how to run a cable to the stairs. You no longer need an electrician. You mount the sconce on the wall with two screws, and you're done.
Battery life is often the first concern: does it last in winter? In many regions, short days from November to February reduce solar production. This is a real point. A low-end solar lamp with a tiny panel will indeed fail in winter. But a model with a battery and panel sized to last several days without direct sunlight changes the game.
What Lumic's SolarGlow Offers
The SolarGlow delivers 1200 lumens, enough to illuminate an average outdoor staircase from a high position. It features two motion sensors with a 180° detection angle and a range of about 26 feet (8 meters)—meaning if you place it at the top of your stairs, it detects your arrival well before you reach the first step. The light is already on when you start descending.
Its IP65 rating makes it resistant to rain, snow, and frost. The advertised battery life in motion detection mode is 20 days without solar recharge. This sets it apart from entry-level models that last 2-3 cloudy days before failing. If you want to compare different outdoor motion sensor light options, the dedicated article covers both wired and solar technologies.
It comes with a 5-year warranty and a 90-day return policy. Customer support is responsive, with replies within 24 hours. On Trustpilot, it holds a 4.5/5 rating from over 2200 reviews.
Which Solution to Choose Based on Your Situation
Here's how to make a practical decision, without getting lost in theory.
You're a Homeowner Planning Outdoor Renovation Work
Only in this case are recessed riser LEDs worth the investment. It's the cleanest visual solution, and if you're redoing the stairs or walkway, the added cost of integrating low-voltage electrical wiring is much more reasonable than doing it afterward. This is the right time to do it.
You're a Homeowner, No Major Work Planned, You Want a Quick Solution
A motion-sensor wall sconce offers the best effort-to-result ratio. One mounting screw, or a solar sconce directly on the wall, gives you functional and safe lighting in under an hour. Our dedicated article comparing LED outdoor stair lighting solutions provides a more complete view if you're still weighing options.
You're a Renter
A wireless, no-drill solar option is your only truly viable choice. A solar sconce screwed onto an exterior wall is generally considered a light installation, but check with your landlord if necessary. If you're looking for powerful wireless outdoor lighting solutions, the complete 2026 guide on the subject covers all available options.
Your Staircase is Long (More Than 8 Steps) or Very Wide
In this case, a single sconce at the top might not be enough. You could consider two sconces, one on each side, or combine a sconce at the top with a ground-level light at the bottom. The key is that the edge of each step is clearly visible from a standing position on the step above.
Mistakes to Avoid for Outdoor Step Lighting
Some common mistakes reduce installation effectiveness:
- Placing the light source too high: A house entrance ceiling light at 10 feet doesn't properly illuminate steps. It provides light but doesn't ensure safety.
- Choosing overly dazzling lighting: Direct light in your eyes when descending is counterproductive. Lighting should reveal the steps, not blind you.
- Forgetting the motion sensor at the approach: If your sensor detects too late (when you're already on the steps), it's useless for safety. It must detect you in advance.
- Neglecting the IP rating: Outdoors, any fixture must have at least IP44 to resist water splashes, and IP65 if exposed to direct rain. Below that, its lifespan will be very short.
- Installing without considering winter: A solar lamp with a small panel and battery will perform poorly from November to February in many regions. Checking the battery life without sun is essential.
Summary: Key Takeaways
Outdoor stair lighting relies on a simple principle: lighting angle trumps brightness. Low, grazing light that reveals step edges through contrast is more effective than a powerful floodlight from the ceiling.
All three solutions work, each in its context:
- Recessed riser LEDs are the most aesthetic solution but require significant work. Reserve for renovation projects.
- Ground-level IP67 lights offer a good visual compromise but are mostly wired.
- The wall sconce, especially a solar version with motion detection, is the most accessible solution, with no heavy work, effective for safety, and renter-friendly.
If you want to go further, our complete guide to stair lighting also covers indoor applications and provides additional benchmarks for choosing.