
You walk into your garage, arms full of groceries, fumbling for the light switch. The single bulb on the ceiling illuminates the middle of the room, but not your workbench, not the corner where you set your things, and certainly not the back where you store your tools. This scenario is all too familiar for most garage owners.
The garage is often the most poorly lit room in the house. Not because solutions are scarce, but because it's hard to know where to start. Wired or wireless? Fluorescent or LED? With or without a motion sensor? This article provides a clear overview of options, categorized by budget and real-world use.
Why Garage Lighting is Often Insufficient
Most garages come with a single central light fixture, often a bulb or fluorescent tube inherited from construction. This single point creates shadows everywhere that truly matters: under the workbench, in corners, at the entrance, and in storage nooks.
A Single Light Source Isn't Enough
Central lighting casts light downwards and towards the middle of the room. The result: the entrance remains dark, sides are shadowed, and workspaces or storage areas are poorly lit. It's not about the bulb's wattage; it's about placement.
Fluorescent Tubes Have Their Limits
The neon or fluorescent tubes found in many garages consume more energy than equivalent LEDs, take several seconds to reach full brightness (especially in cold winter temperatures), and eventually yellow or flicker. Most owners keep these default installations out of habit, not choice.
Garages Without Electricity: A Common Issue
Some garages, especially shared parking spaces or garden sheds, lack accessible electrical outlets. In such cases, running a cable requires significant work. If you're in this situation, the article lighting a garage without electricity lists all available alternatives, from solar solutions to rechargeable light bars.
LED vs. Fluorescent for the Garage: What Really Changes
Today, LED tubes are a superior replacement for fluorescent tubes in almost all cases. Here's what that means in practice.
Instant On, Even in Winter
An LED tube lights up instantly at full power, regardless of temperature. This is especially useful in a garage where temperatures can drop low in winter. Fluorescent tubes, on the other hand, can take 30 to 60 seconds to reach full brightness when it's cold.
Lifespan and Energy Consumption
LED tubes generally last much longer than fluorescent tubes and consume significantly less energy for equivalent light output. In practice, a 15.7-inch (40 cm) LED tube produces about 320 lumens while being energy-efficient. To understand the long-term savings, our article on LED light bar energy consumption details the calculations.
Color Temperature: Which Light to Choose for a Garage?
This choice significantly impacts daily experience. For a working garage (mechanics, DIY, workshop), cool or neutral white (4000-6000K) is preferable: it renders details, tool colors, and visual cues better. For a garage used for storage or as a passageway, neutral white (4000K) offers a good compromise. Warm white (3000K) is suitable if you use your garage as a living space or photo studio.
Garage Lighting Solutions by Budget
Here's an honest look at the available options, from least expensive to most comprehensive.
| Solution | Investment | Installation | Ideal for | Limitation |
|---|---|---|---|---|
| Rechargeable LED light bar | Low | Wireless, 30 sec | Specific spots, entrance, closet | Limited lumen output (150-320 lm) |
| LED tube on existing circuit | Low to medium | Tube-for-tube replacement | Replacing an existing fluorescent | Requires outlet or circuit |
| Additional wired LED light bar | Medium | Electrician recommended | Permanent workbench lighting | $150-$300 labor cost |
| Outdoor solar light | Medium | Wireless | Garage entrance, gate | Not suitable for dark interiors |
| Complete wired installation | High | Electrician required | Rewiring lighting from scratch | Significant cost and lead time |
When to Call an Electrician
If your garage has no electrical points, or if you want to install powerful, permanent lighting above your workbench, an electrician is often the right long-term answer. Expect to pay between $150 and $300 for an additional light point, depending on your region and the complexity of cable routing. This is an investment justified for a workshop used daily.
When a Rechargeable Light Bar is the Logical Choice
For all other cases—adding light to a corner, temporarily illuminating a workspace, lighting a cabinet or garage entrance—a rechargeable LED light bar does the job without major work or an electrician. The cost is incomparably lower, installation takes less than a minute, and you can move it if needed. To compare available models, our article rechargeable LED light bar: how to choose gives you the criteria that truly matter.
The Garage Entrance: The Blind Spot Everyone Forgets
You come home from the supermarket, arms full of bags, and have to juggle with the light switch. Or you enter through the pedestrian door at night and feel your way along the wall. The garage entrance is where a motion sensor makes the biggest difference.
Why a Motion Sensor Changes Everything at the Entrance
A motion sensor coupled with an ambient light sensor means the light only turns on when you need it and when it's dark. You don't have to touch anything. This is especially useful in a garage where you often enter with your hands full. The light turns on as you approach and turns off automatically after you've passed.
Light Bar with Sensor: What to Check Before Buying
Before choosing a light bar with a sensor for your garage, check three points: the sensor's range (at least 10-13 feet for a standard entrance), battery life (no point in having a sensor if you have to recharge every 3 days), and mounting quality (the garage is an environment with vibrations, slamming doors, and temperature changes). For more on installation, our guide LED garage light bar with sensor covers the entire process.
The Movement 3.0 in This Context
If you're looking for a wireless solution with detection, Lumic's Movement 3.0 is a solid option for this type of use. Its 3000 mAh battery, three times larger than what's typically found in this range, provides about 4 to 6 weeks of autonomy in detection mode depending on the model (9 inches or 15.7 inches). Mounting is magnetic with industrial adhesive backing, and installation is tool-free. It's available in 3 color temperatures (3000K, 4000K, 6000K) and offers adjustable brightness. This is the kind of addition that transforms the experience of entering a garage without you having to touch a cable or call a professional.
Properly Placing Light Sources in a Garage
The right equipment placed in the wrong spot is still insufficient. Here's how to think about placement before buying anything.
Identify the Zones That Truly Matter
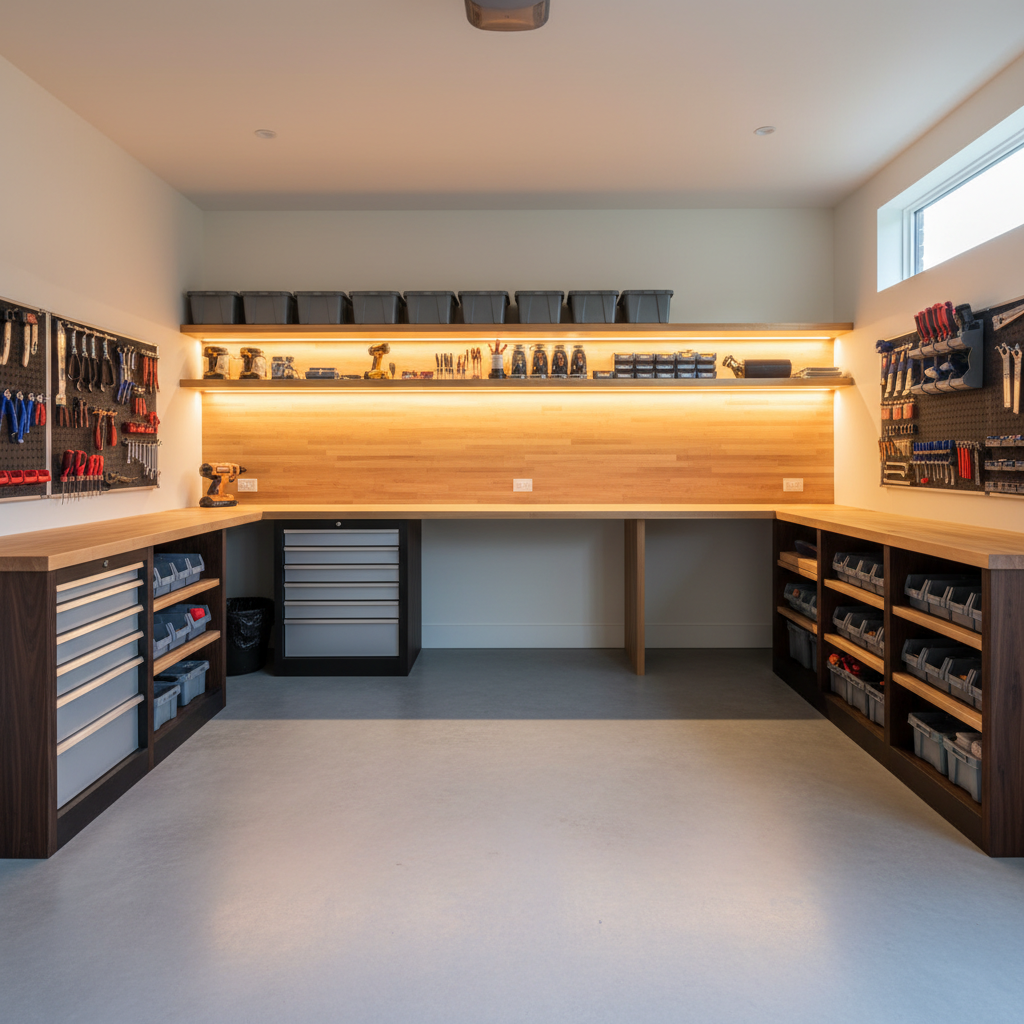
Before choosing a solution, survey your garage and identify the 3 or 4 areas where you truly lack light. Generally, these are: the entrance (pedestrian door or access from the house), the workbench or DIY area, shelves and storage on the sides, and the back of the garage if you store equipment there. Each area has different needs: the workbench requires direct, strong light; storage needs more diffuse light; the entrance needs reactive, automatic light.
Ambient Lighting vs. Task Lighting
A well-lit garage generally combines two types of light. Ambient lighting comes from the central point (ceiling) and should be powerful enough for safe movement. Task lighting is localized: it specifically illuminates the area where you're working. For a workbench, a light bar mounted under wall cabinets directly illuminates the work surface without glare. For shelves, short LED strips placed under each level are sufficient.
Height and Angle: Mistakes to Avoid
Light placed too high in a corner creates downward shadows. Light placed directly behind you when working at the workbench illuminates your neck but creates a shadow in front of you. The basic rule: the light source should be in front of you and slightly above the work surface, not behind. If using a magnetic light bar, test it for a few minutes in different positions before finalizing placement.
Garage with Electricity: Optimizing Existing Setup
Many garages already have electricity. In this case, you don't necessarily need major work to significantly improve lighting.
Replacing Fluorescent with LED Tube Without Modifying the Circuit
If you have an existing fluorescent tube, replacing it with a compatible LED tube is often the quickest and cheapest first step. Most T8 LED tubes fit directly onto existing ballasts or require a simple bypass (which you can do yourself in 10 minutes with manufacturer instructions, but must be done with power off). The result: more light, less consumption, and no more flickering at startup.
Adding Outlets for Additional Solutions
If you have outlets in your garage, you can plug in additional wired LED light bars above the workbench without an electrician. These light bars plug directly into standard outlets and are mounted with screws or adhesives depending on the model. This is an effective intermediate solution for task lighting, less flexible than a rechargeable light bar but more powerful.
When an Electrician is Truly Worth It
If you want a dedicated switch for your new light sources, or if you don't have an outlet in your work area, that's when an electrician becomes useful. The cost for creating a new circuit or moving an outlet ranges from $80 to $150, depending on the configuration. For installing a complete fixture with a switch, expect to pay more. This cost should be weighed against usage: if you spend several hours a week in your garage, it pays for itself quickly.
Options for Garages Without Electricity
A garage without an outlet, without a light point, without an accessible electrical circuit: this is a real constraint that eliminates many wired solutions.
Rechargeable LED Light Bars: The Most Versatile Solution
Today, this is the most practical answer for a garage without electricity. A rechargeable light bar installs in seconds, effectively illuminates a defined area, and recharges via USB when the battery is low. You plug it into a standard charger (like your phone), put it back in place, and that's it. No permanent cables, no major work, no electrician. The limitation remains the lumen output: a 15.7-inch (40 cm) light bar at 320 lumens is perfect for a workbench or closet but won't replace ceiling lighting for the entire surface of a large garage. For situations requiring more mobility, our selection of rechargeable portable LED lamps offers interesting alternatives.
Solar Lights for the Garage Exterior
For the driveway, gate entrance, or exterior garage wall, a solar light with a motion sensor is the most suitable wireless solution. It recharges during the day and turns on at night when someone passes. Lumic's SolarGlow, for example, delivers 1,200 lumens with two 180° sensors and a range of about 26 feet (8 meters), with an IP65 rating (rain, snow, frost). It operates for up to 20 days without sun in detection mode. For the interior of a dark garage, solar remains limited due to lack of direct exposure, but for anything exterior, it's unbeatable.
Rechargeable LED Bars as an Alternative
If you're looking for something longer or more powerful than a standard light bar, rechargeable LED bars offer a larger lighting surface. They work on the same principle but cover wider areas. Our article on rechargeable LED bars reviews the criteria for choosing in 2026.
What You Need to Know Before Buying
Here's a summary of the points that truly make a difference, regardless of budget or chosen technology.
Battery Life is the #1 Criterion for Rechargeable
A rechargeable light bar that lasts 3 days quickly becomes a hassle. Look at the battery capacity (in mAh) and the advertised battery life in detection mode, not continuous mode. Continuous mode consumes much more: a 9-inch light bar lasts about 5 hours continuously but up to 4 weeks in detection mode. Detection mode is what corresponds to normal garage use.
Mounting Must Withstand Vibrations
In a garage, doors slam, tools fall, and temperatures fluctuate. A weak adhesive-only mount can fail. Prioritize combined systems (magnetic + industrial adhesive) or screws if you can drill. Test the hold after a few days before being satisfied with the result.
Consider Color Temperature According to Use
For DIY or mechanics: cool or neutral white (4000-6000K). For a passageway or storage area: neutral white (4000K). For a garage that also serves as a living space: warm white (3000K). If you're unsure, 4000K is the most versatile choice. To delve deeper into the subtleties of LED lighting by use, our guide on garage LED lighting by use details configurations based on your primary activity.
In Summary: Where to Start?
If you want to improve the lighting in your garage without complicating your life, here's the logic to follow. First, identify the precise areas that are in shadow (entrance, workbench, storage). Then, assess whether you have accessible electricity or not. Finally, choose the appropriate solution for each area: rechargeable light bar for cable-free spots, LED tube to replace existing fluorescent, and an electrician only if you need a new permanent circuit.
The garage is often the last room we address. Yet, a few targeted adjustments are enough to completely transform the daily experience, without heavy work and without an excessive budget.