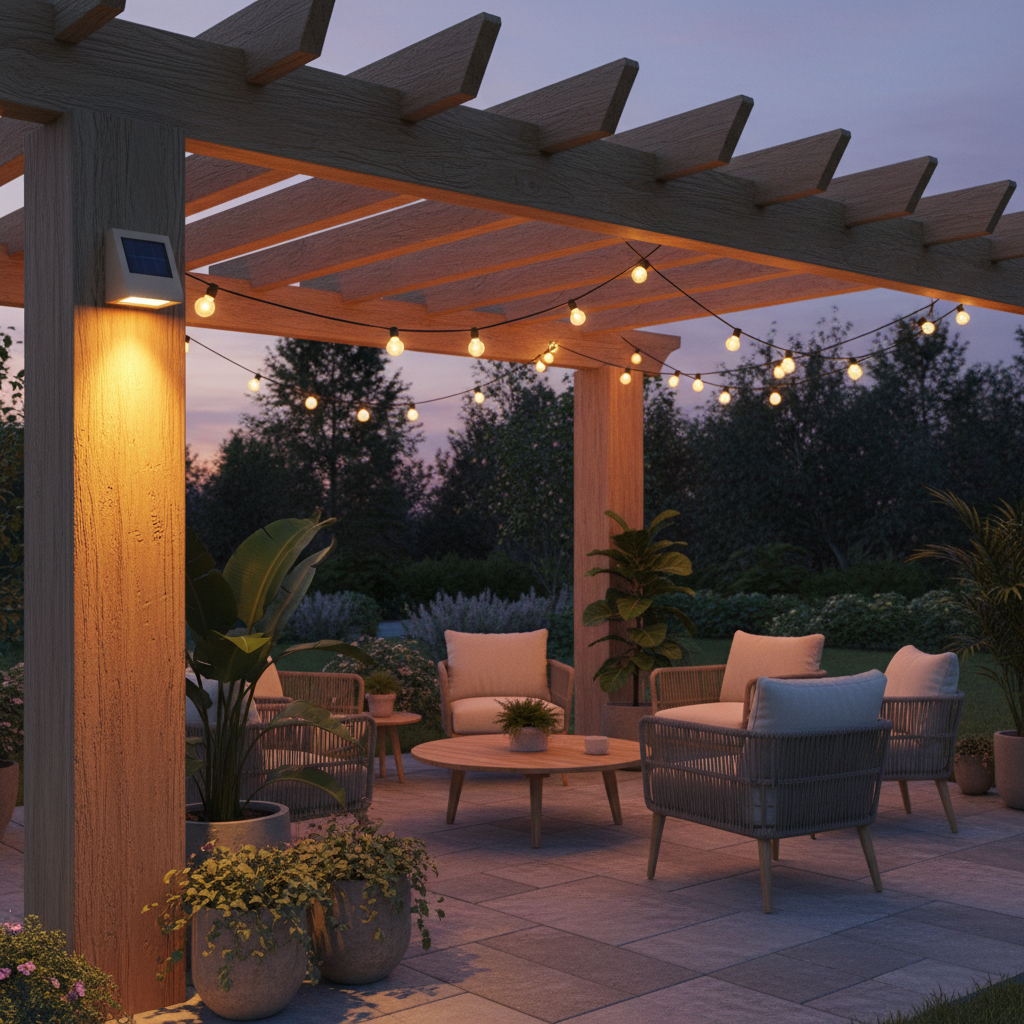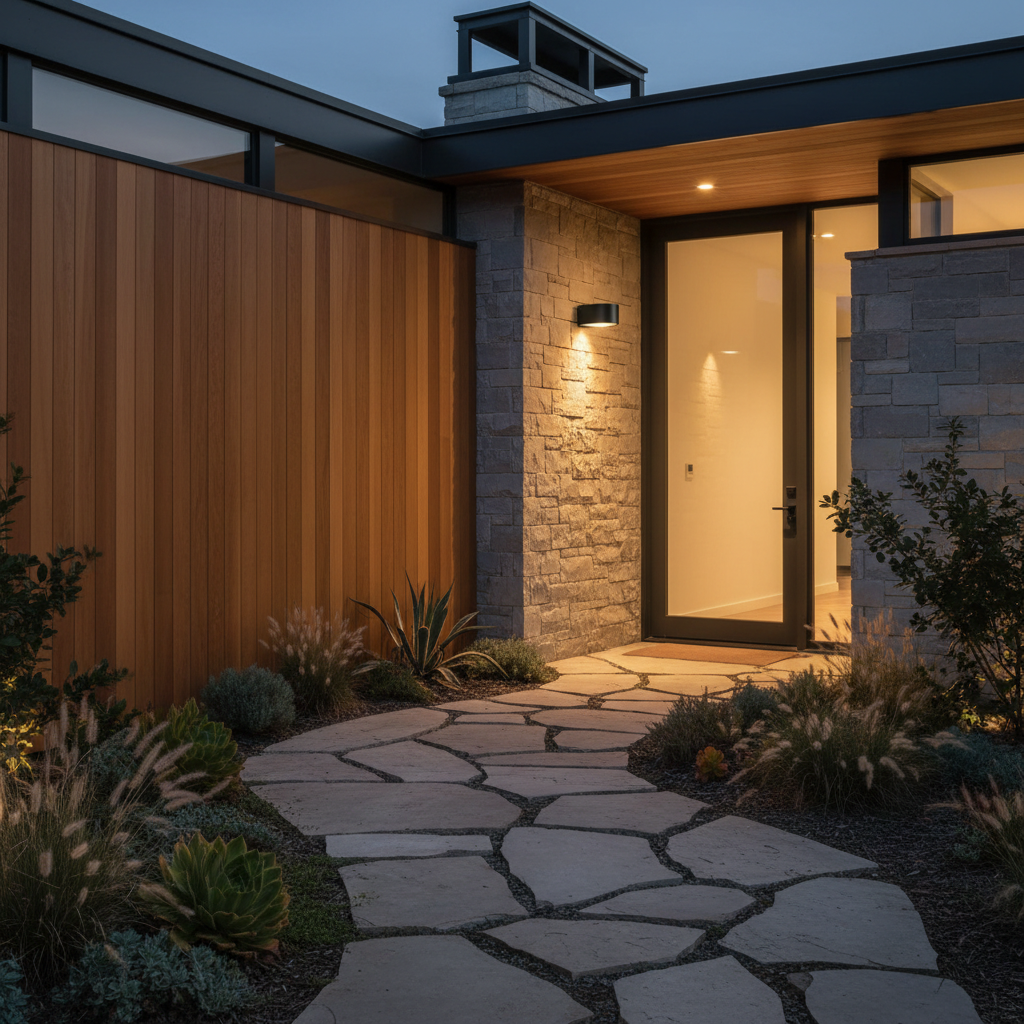
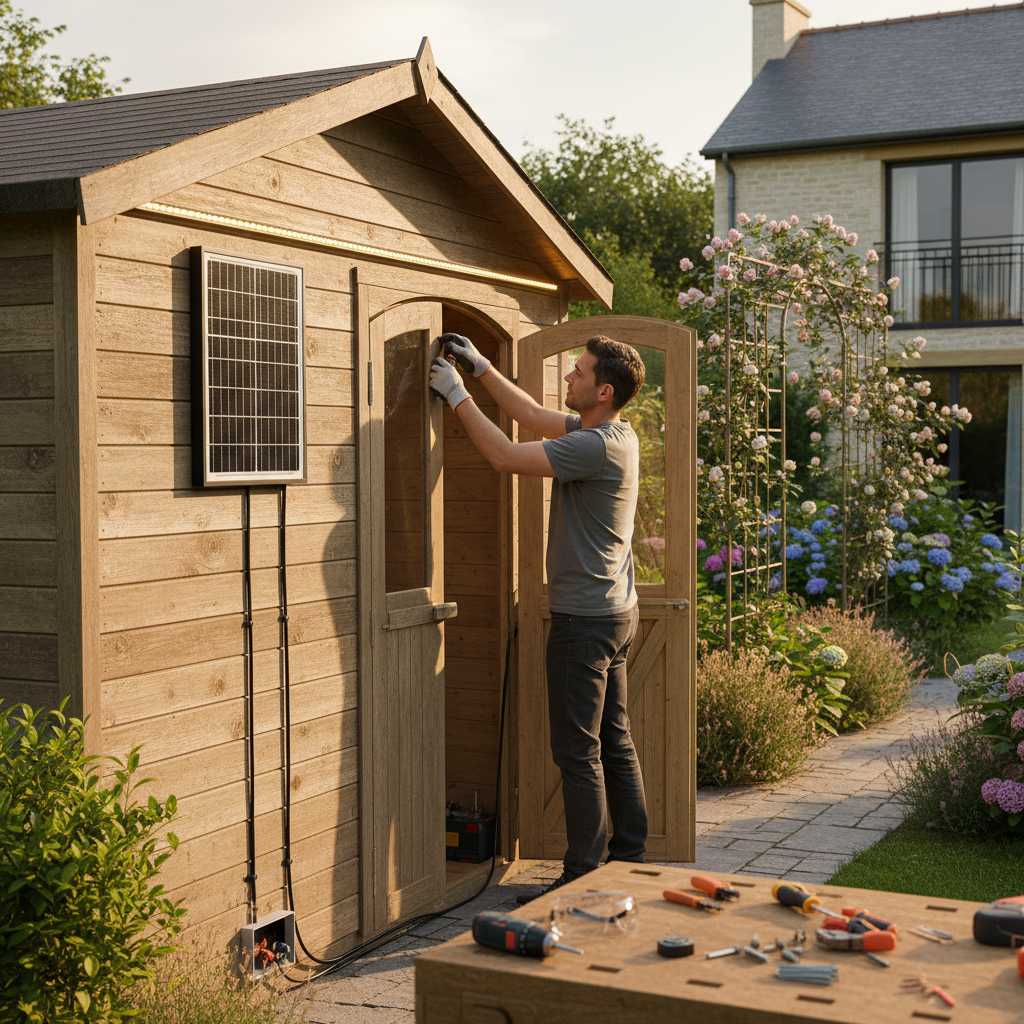
Want to install an outdoor solar lighting kit yourself? No electrician needed, no cables to run from the house. It's totally doable — and can even be a fun Saturday morning project. But before you order components, there are a few things to clarify to avoid unpleasant surprises.
This tutorial covers everything: the components of a complete solar kit, how to assemble them step-by-step, pitfalls to avoid, and an honest comparison with all-in-one solutions so you can make an informed choice.
What Exactly is an Outdoor Solar Lighting Kit?
An outdoor solar lighting kit is a set of separate components you assemble yourself to create an autonomous lighting system. It's not a ready-to-use solar lamp, but a customized installation you size according to your needs.
What Components Make Up a Complete Solar LED Kit?
A complete solar kit for outdoor lighting always includes four main elements:
- The solar panel: Captures solar energy and converts it into electricity. Its power (in watt-peak) determines the daily recharging capacity.
- The charge controller: Regulates the energy flow between the panel, battery, and lights. It protects the battery against overcharging and deep discharge.
- The battery: Stores energy to power the LEDs at night. AGM lead-acid batteries are common in entry-level kits; lithium batteries are lighter and more durable but more expensive.
- The LED light(s): Consume the stored energy. Choosing low-consumption LEDs maximizes autonomy.
- Cables and connectors: Often included, but quality varies greatly between kits.
Why Choose a Solar Kit Over an All-in-One Lamp?
The main strength of an outdoor solar panel lighting kit is its flexibility. You can place the panel in the best spot (shed roof, south-facing pole) and position the LEDs elsewhere, where light is needed. You can also upgrade: add a second panel, increase battery capacity, or connect multiple light points to the same controller.
It's a small-scale electrical installation, not a gadget. And that's exactly what attracts DIYers to this solution.
Materials Needed Before You Start
Before starting the installation, gather everything. Nothing worse than stopping halfway because a connector is missing.
- A solar LED kit (panel + controller + battery + light + cables)
- Flathead and Phillips screwdrivers
- A drill (for wall or support mounting)
- A multimeter (highly recommended for checking connections)
- Cable ties or conduit to secure wires
- Electrical tape
- A ladder if the panel goes high up
Difficulty Level: Intermediate. No need to be an electrician, but you should be comfortable with cable connections and respecting polarities (+ and -).
Estimated Time: 2 to 4 hours depending on the complexity of the installation and the distance between the panel and the lights.
Outdoor Solar Kit Installation: Complete Steps
Step 1: Choose the Solar Panel Location
This is the most critical step. A poorly oriented panel means a battery that never recharges properly, and LEDs that turn off at 10 PM.
Place the panel facing south, with no shadows cast between 10 AM and 3 PM (that's when the sun produces the most energy in the US/Canada). A sloped roof, a south-facing facade, a pole planted in the ground: all options are valid as long as the orientation is good. Tilt the panel at about 30-45° from horizontal to optimize solar capture in fall and winter. To learn more about cold-weather performance, check out our article on solar lights that work in winter.
Step 2: Mount the Panel and Run the Cables
Once the location is chosen, secure the panel support with the provided screws (or anchors suitable for the surface). Then run the cables from the panel to the charge controller's location. If the distance is long (more than 10-13 feet), use sufficiently thick cables to avoid voltage drops — generally 14 AWG (2.5 mm²) minimum for distances of 16-33 feet.
Protect cables exposed to UV and weather with conduit or protective sleeving. An unprotected cable flapping in the wind will eventually get damaged.
Step 3: Connect the Battery to the Charge Controller
This is an absolute rule: always connect the battery first to the controller, before the panel and before the lights. Charge controllers initialize using the battery — connecting them in the wrong order can fry the electronics.
Strictly observe polarities: + terminal (red) to +, - terminal (black) to -. Use your multimeter to check the battery's output voltage before proceeding. For a full 12V battery, you should read between 12.6 and 12.8V.
Step 4: Connect the Solar Panel to the Controller
Once the battery is connected and the controller is powered on, connect the panel cables to the dedicated terminals (often symbolized by a sun or marked “PV”). If you're working in direct sunlight, temporarily cover the panel with cardboard during connection to avoid any stray voltage during wiring.
The controller should indicate that the panel is detected — usually via an LED or a small LCD screen, depending on the model.
Step 5: Connect the LED Lights
The lights connect to the controller's output terminals (marked “Load” or represented by a light bulb icon). As with the battery, observe polarities. Run the cables to the chosen lighting locations (pathway, gate, patio, garage entrance) and secure them neatly.
If you're installing multiple light points, ensure the total consumption of your LEDs remains well below the controller's maximum output power. A 10A 12V controller can power up to 120W of LEDs — more than enough for home use.
Step 6: Test the System and Adjust
Cover the panel (to simulate night) and manually activate the Load output from the controller: the LEDs should light up. Uncover the panel: the battery should start charging again. Let it run for 24 to 48 hours to observe real behavior, then adjust controller parameters if necessary (turn-off time, discharge threshold).
If you opted for a kit with an integrated motion sensor on the lights, configure it at this stage: detection angle, illumination duration, ambient light threshold. For more on this topic, our guide on motion-sensing solar lighting covers all useful settings.
Properly Sizing Your Solar LED Kit
How to Calculate the Necessary Panel Power?
This is the question many skip — and it's often where things go wrong. The calculation is simple:
- Add up the daily consumption of your LEDs (in Wh): LED power in W × hours of use per night
- Add 20-30% to compensate for losses (battery efficiency, cables, controller)
- Divide by the average hours of sunlight in your region (2 to 5 hours depending on season and latitude)
Concrete example: 2 x 5W LEDs lit 5 hours/night = 50Wh/night. With 20% losses = 60Wh needed. With 3 hours of sunlight (winter in US/Canada) = minimum 20W panel. For summer with 5 hours of sunlight, a 10-15W panel would suffice.
What Battery Capacity to Last Several Days Without Sun?
Plan for at least 2 to 3 days of autonomy without solar recharge to cover cloudy periods. With the example above (50Wh/night), a 100 to 150Wh battery (about 12Ah at 12V) comfortably offers 2-3 nights of autonomy without sun. In practice, an entry-level kit with a 20W panel + 12V/12Ah battery adequately covers the needs for pathway or gate lighting.
Maintaining an Outdoor Solar Panel Lighting Kit
How Often to Clean the Solar Panel?
Two to four times a year, a simple cleaning with clear water and a non-abrasive cloth is sufficient. Dust, dead leaves, or bird droppings accumulating on the glass surface can significantly reduce energy production. It's a five-minute task that can make a difference in winter autonomy.
When Should You Replace a Solar Kit Battery?
AGM lead-acid batteries generally last 3 to 5 years depending on charge/discharge cycles and maintenance quality. Signs of aging: gradually decreasing lighting time, battery not recharging properly even after a sunny day. A well-maintained lithium battery can last 2 to 3 times longer but represents a higher initial investment.
DIY Solar Kit vs. All-in-One: An Honest Comparison
Many DIYers jump into assembling a kit without comparing it to modern all-in-one solutions. Here are the two options side-by-side, unfiltered:
| Criterion | DIY Solar Kit | All-in-One (e.g., Lumic SolarGlow) |
|---|---|---|
| Cost | $50 to $150 (components) | Single price, all-inclusive |
| Installation Time | 2 to 4 hours | 10 to 15 minutes |
| Complexity | Intermediate (wiring, sizing) | None (screwing or adhesive) |
| Flexibility | High (customizable, expandable) | Fixed (integrated components) |
| Maintenance | Regular (battery, connections) | Minimal (panel cleaning) |
| Winter Performance | Depends on sizing | Optimized (large panel + battery) |
| Ideal for | Specific installations, multiple light points | Quick installation, immediate efficiency |
A DIY solar kit makes perfect sense if you want to light multiple areas from a single battery, if you have specific placement constraints (panel far from the light), or if you enjoy understanding and controlling your setup. It's a real project, with genuine satisfaction at the end.
If, however, your goal is functional outdoor lighting quickly, without wiring or calculations, an all-in-one solution like Lumic's SolarGlow does exactly that: 1,200 lumens, two 180° motion sensors with an 8-meter (26-foot) range, IP65 resistance (rain, snow, frost), and up to 20 days of autonomy in detection mode without solar recharge. Oversized panel and battery compared to low-end alternatives for winter resilience. 5-year warranty. No cables to run, no components to assemble.
Both options work. The kit gives you total control; the all-in-one removes 100% of the complexity. To explore other powerful wireless outdoor lighting solutions, our complete guide covers all configurations.
Mistakes to Avoid When Installing a Solar LED Kit
Undersizing the Panel to Save Money
This is the most common mistake. A panel that's too small will never properly recharge the battery in winter, when sunlight is at its minimum. Result: LEDs turn off in the middle of the night starting in November. Always plan for a 25-30% margin above the calculated minimum.
Neglecting Outdoor Cable Protection
Cables exposed to UV, humidity, and temperature variations degrade quickly if not protected. Always sheath outdoor cables. A damaged cable creates micro-short circuits that drain the battery without you realizing it.
Connecting Components in the Wrong Order
Critical reminder: battery first, panel next, lights last. Reversing this order, especially connecting the panel before the battery, can permanently damage the controller. Some cheap controllers are not protected against this type of error.
Ignoring Panel Orientation
A panel oriented east-west instead of due south can lose 30-40% of its annual production. Take the time to check with a compass or a solar positioning app before permanently mounting the support. For facade installations, consult our guide to choosing a wall-mounted solar light based on orientation.
Final Checklist Before Validating Your Installation
- ✅ Panel oriented due south, tilted 30-45°, no shadows between 10 AM and 3 PM
- ✅ Panel cables protected against UV and weather
- ✅ Battery connected first to the controller
- ✅ Polarities respected on all connections (+ to +, - to -)
- ✅ Total LED consumption below the controller's output capacity
- ✅ Controller confirming panel and battery detection
- ✅ Manual test of the Load output: LEDs light up correctly
- ✅ Cables secured and organized (no loose or flapping cables)
- ✅ Controller parameters adjusted (schedules, discharge thresholds)
- ✅ Observation over 48 hours to validate real behavior
Your outdoor solar lighting kit is now operational. To delve deeper into available options and compare different product families, our guide to outdoor solar lighting by type will give you a complete overview. And if you're considering lighting an isolated space like a garage or garden shed, check out our solutions for lighting a garage without electricity.