Got a garden pathway that's pitch black at night? You're fumbling for the door, guests are tripping over stones, and security is an afterthought. Good news: lighting a pathway is a DIY project. No trenching, no electrician, and no breaking the bank—if you choose the right lighting from the start.
This guide shows you exactly how to light your garden pathway, ideal spacing, which types of lights suit different situations, and when solar power is truly reliable (and when it's not).
Before You Start: Measurements and Planning
Before buying anything, take 10 minutes to map out your pathway. Everyone skips this step—and it causes half the problems.
How long is your pathway and how many lights do you need?
The practical rule: one light every 6.5 to 10 feet (2 to 3 meters). For a 33-foot (10-meter) pathway, plan for 4 to 5 light points. Too far apart, and you'll have dark spots between each fixture. Too close, and it looks cluttered, plus costs skyrocket.
Measure your pathway, note obstacles (trees, flowerbeds, low walls), and mark both ends: where people arrive from the street, and where they enter the house. These are the two most critical points for illumination.
Does your pathway get sun exposure for at least part of the day?
This factor changes everything. If your pathway is in full sun or partial shade, solar solutions will work well. If it's under trees, in the shadow of a tall hedge, or north-facing, forget solar for pathway lighting: panels won't charge enough, and lights will be unreliable by fall.
A simple test: observe your garden between 10 AM and 4 PM on a sunny day. If the pathway gets less than 3-4 hours of direct sunlight, consider other solutions or wired lighting.
Top 3 Types of Garden Pathway Lighting
No single lighting type fits all pathways. Here are the three main categories, with their real pros and cons.
Pathway Bollards: The Classic Path Light
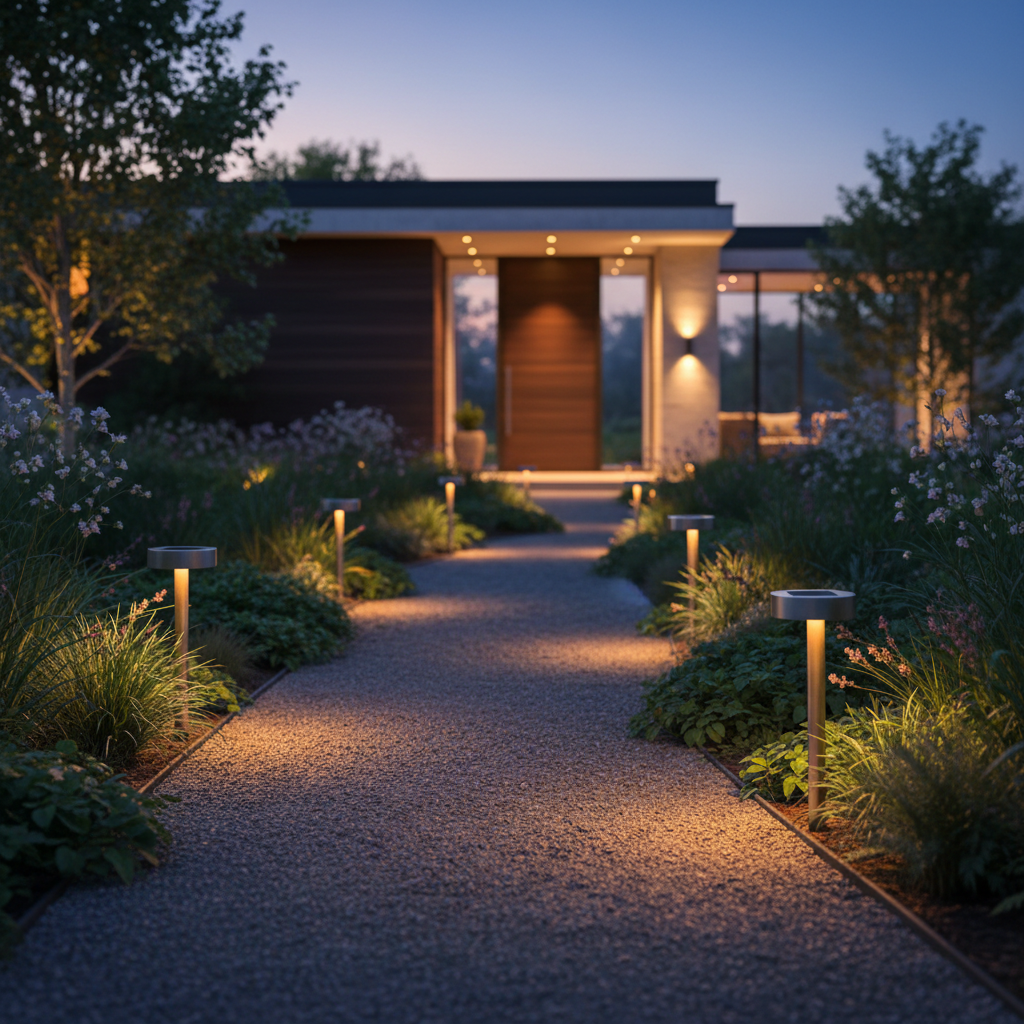
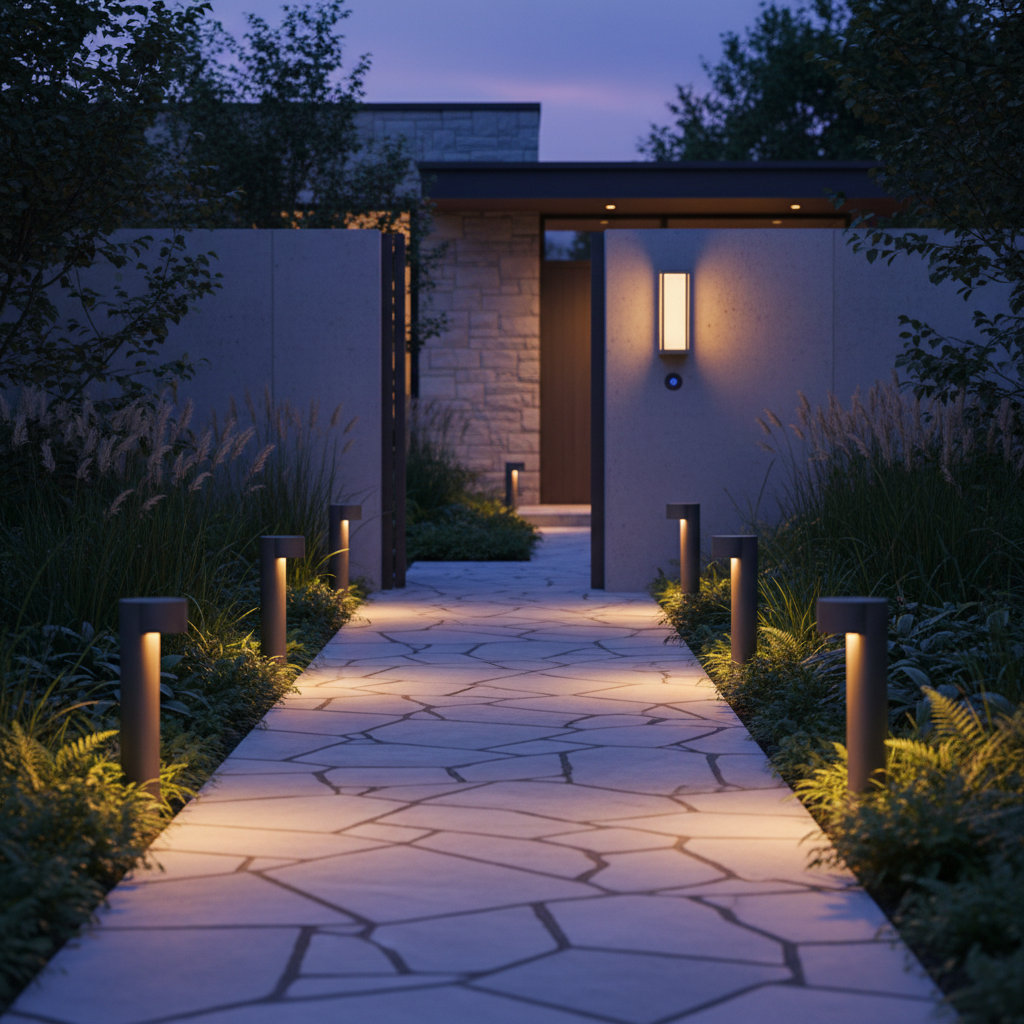
This is the most common solution for pathway lighting, and for good reason. A bollard is staked into the ground along the path and casts a soft, downward-directed light. It won't blind you, it marks the path's edge, and creates a polished ambiance.
Bollards are great for:
- Straight pathways with space on either side
- Gardens where aesthetics matter as much as function
- Areas where you don't need powerful light, just visual guidance
Their limitation: the light is soft, sometimes very soft. For someone looking for keys or carrying heavy items, it's not always enough on its own. Use them for accent lighting, not as the main light source.
In-Ground Lights: Maximum Discretion
Installed directly into the ground or along paved pathway edges, in-ground lights are invisible during the day. At night, they project a focused beam that can precisely mark the path.
Installation is more involved: you need to dig, run a cable, and plan for electrical power. This is the most aesthetically clean solution but also the most expensive to install if you hire a professional. Best for projects where you're already doing construction or if the pathway is paved and allows for easy installation.
Wall or Fence Sconces: Powerful and Versatile
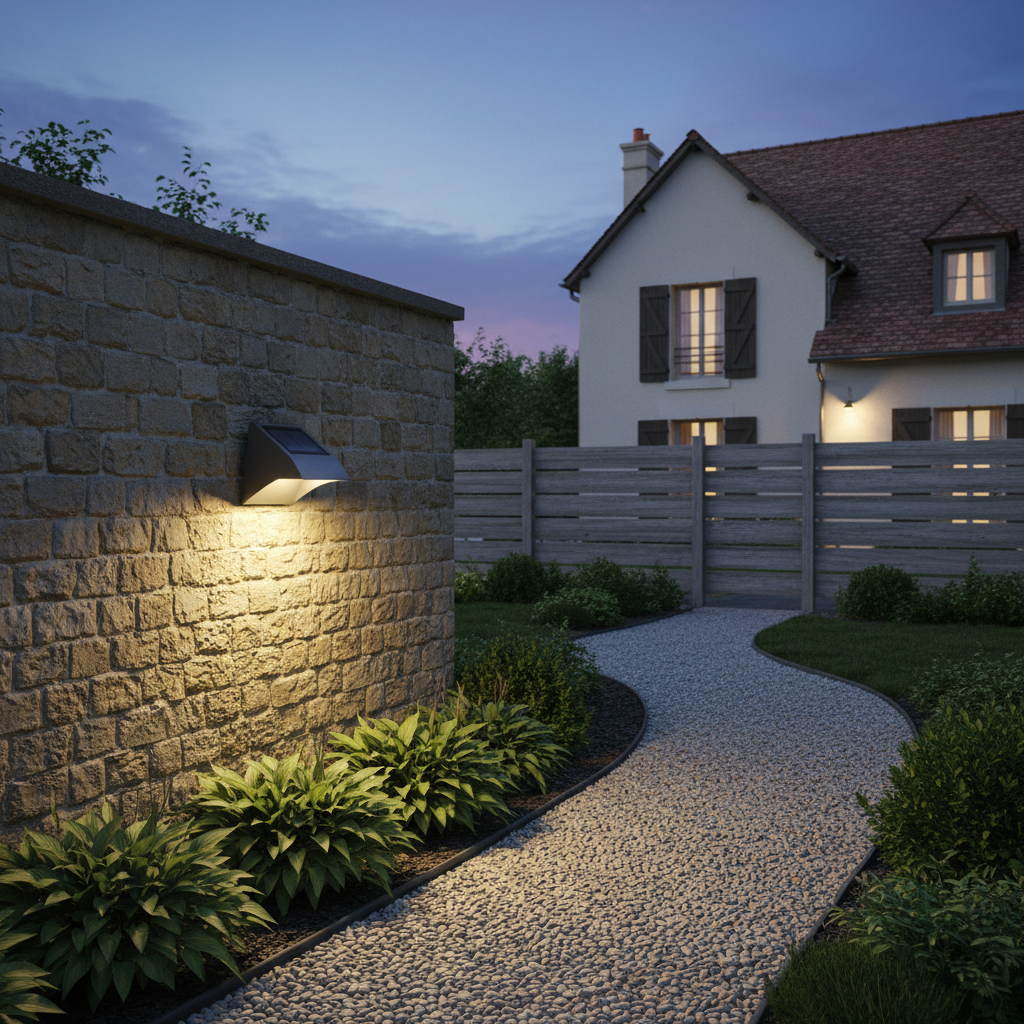
If your pathway runs alongside a wall, fence, or house facade, wall sconces are often the best option. They provide effective downward lighting with a greater reach than bollards. Install them at a height of 6.5 to 8 feet (2 to 2.5 meters) to avoid glare and properly illuminate the ground.
A significant advantage: they are often compatible with wireless solutions, especially solar versions, which greatly simplifies installation.
Solar vs. Wired for Pathway Lighting: The Real Comparison
This is the question everyone asks. The honest answer: both have their place, but not in the same situations.
| Criterion | Solar Lighting | Wired Lighting |
|---|---|---|
| Installation | No cables, no trenching | Cables in the ground, sometimes an electrician needed |
| Installation Cost | Low to moderate | High (trenching + electrician: $800-$1500 depending on length) |
| Autonomy | Depends on sun exposure | Constant, 365 days/year |
| Winter Reliability | Good if panel is sized correctly | Perfect |
| Shaded Pathway | Not recommended | Ideal |
| Sunny Pathway | Very effective | Overkill (unnecessary cost) |
| Maintenance | Clean panel 1-2x/year | Almost none |
The right reasoning: If your pathway is exposed and you don't have existing electrical infrastructure, running a cable 33-50 feet (10-15 meters) across the lawn requires a trench at least 24 inches (60 cm) deep and often an electrician. Costs add up quickly. For a sunny pathway, solar is not only simpler but also more economically smart.
For more on this topic, our article on powerful wireless outdoor lighting options compares different solutions available today.
How to Install Your Pathway Lighting Step-by-Step
Let's assume the most common scenario: an 26-40 foot (8-12 meter) pathway, sun-exposed, with no existing wiring. You want clean pathway lighting with solar bollards, complemented by an entry sconce.
Step 1: Mark Locations and Outline on the Ground
Materials: tape measure, small stakes or chalk marks, pen and notebook. Time: 15 minutes.
Start at both ends of the pathway, then space your markers every 6.5 to 10 feet (2 to 3 meters). Place your marks alternately on each side of the path for a symmetrical effect, or on one side if the terrain or aesthetics require it.
Note: position your bollards 8-12 inches (20-30 cm) from the edge of the pathway to prevent them from being stepped on and to ensure their light is directed towards the path's surface.
💡 Pro Tip: Take photos of your marks before you start. If you change anything along the way, you'll have a record of your initial plan.
Step 2: Prepare the Ground for Bollards
Materials: small shovel or planter, gloves. Time: 20-30 minutes for 5-6 bollards.
Most garden bollards simply push into the ground with their integrated stake. On a lawn or soft soil, it takes seconds per bollard. On hard or rocky ground, use a planter to create a pilot hole before pushing it in.
If the ground is dry and hard (summer), lightly water the area the day before. The soil will be easier to work with, and the stake will go in without force.
💡 Pro Tip: If you have pavers or slabs, some bollards offer a base plate attachment to place on the edge. Check options when purchasing.
Step 3: Orient Solar Panels
Materials: none. Time: 2 minutes per bollard.
This is the most underestimated step. To maximize charging, solar panels should be south-facing and receive direct light for at least 10 AM to 3 PM.
In practice: adjust the panel's angle if it's adjustable, and ensure no shadows (from trees, walls, fences) block the panel during the day. A bollard in the shade for half the day will only charge halfway—and cut its operating days in half.
To fully understand this point, the article dedicated to solar lamp batteries explains why storage capacity makes all the difference in practice.
Step 4: Install Entryway Lighting
Materials: drill (if wall), anchors, screws, screwdriver. Time: 15-20 minutes.
The entrance to your pathway, from the street or gate, deserves special attention. This is where you need the most powerful light for two reasons: security (identifying who arrives) and welcome (properly illuminating for entry). A 30-50 lumen pathway light isn't enough here.
A wall sconce with a motion sensor is much better suited than a bollard. It turns on when someone approaches, provides bright light, and covers a wide area. If you have a wall or pillar at the entrance, this is the ideal spot.
For a wireless solution, the Lumic SolarGlow is designed exactly for this use case: 1200 lumens, two 180° motion sensors with a range of about 26 feet (8 meters), UL listed (resistant to rain, snow, and frost). It mounts on any wall surface, no cables needed, and operates for up to 20 days without solar recharge in motion detection mode. For a pathway entrance, this is the kind of power you need.
💡 Pro Tip: Mount the sconce 6.5 to 8 feet (2 to 2.5 meters) high. Too low, it might be triggered by children or animals. Too high, the motion detector loses accuracy.
Step 5: Activate, Test, and Adjust
Materials: none. Time: 10 minutes.
Once everything is installed, fully charge your solar bollard batteries before first use—if the model allows via USB. Otherwise, leave them in full sun for 24 to 48 hours before evaluating their nighttime performance.
In the evening, walk your pathway and observe:
- Are there significant dark spots between two bollards?
- Is the entrance sufficiently lit?
- Are motion sensors triggering correctly?
If an area is too dark, add an intermediate bollard rather than increasing the intensity of others. It's more effective and aesthetically pleasing.
Shaded Pathway: Solutions When Solar Isn't Enough
Is your pathway under trees, north-facing, or in the shadow of a tall hedge? Solar will be unreliable and disappointing as days shorten. Here are concrete alternatives.
Can solar lighting work under trees?
Rarely reliably. Under a canopy, charging is too low to compensate for several nights of operation. The first cloudy days of November, and your bollards will stop working. If this is your situation, opt for low-voltage wired lighting (12V) or wall/fence sconces connected to an existing outdoor outlet.
Another option: move solar panels to a sunny area of the garden and connect them to the lights with a cable. Some high-end bollards allow this. It's an interesting intermediate solution if you have a sunny spot less than 16 feet (5 meters) from your pathway.
How to manage a mixed pathway, part sun, part shade?
The sunny part can use solar bollards. The shaded part will benefit from wired power or sconces plugged into an outdoor outlet. Mixing the two systems on the same pathway is perfectly viable and often the best pragmatic approach.
To delve deeper into selecting a powerful solar garden light and distinguish models that truly deliver, our dedicated guide will give you the right benchmarks.
Mistakes to Avoid When Lighting a Garden Pathway
Let's finish with the most common mistakes. Avoid them, and your installation will be perfect the first time.
Underestimating the number of lights needed
This is mistake number one. People buy 3 bollards for a 40-foot (12-meter) pathway, thinking it will be enough. Result: two isolated cones of light and darkness in between. The 6.5-10 feet (2-3 meter) rule between each light point isn't to sell more bollards—it corresponds to the actual reach of light cast on the ground.
Placing bollards at the pathway entrance and nothing else
The entrance to a pathway needs the most powerful light. A pathway bollard here doesn't do the job. It signals, it doesn't secure. Combine pathway lighting along the path with powerful motion-sensing lighting at the entrance.
Neglecting solar panel orientation
A north-facing panel or one in the shade of a hedge means a battery that doesn't charge properly. Take 2 minutes during installation to check actual exposure. This detail determines whether your bollards last all year or not.
Forgetting maintenance
Solar bollards accumulate dust, dead leaves, and hard water stains on their panels. A simple cleaning with water and a soft cloth, once or twice a year, maintains charging performance. It's not restrictive, but don't forget it.
Choosing non-weather-resistant bollards
Outdoors, the IP rating is non-negotiable. A light without sufficient protection won't survive the first rainy winter. For a garden pathway, look for at least an IP44 rating, and IP65 for areas highly exposed to rain or frost. This is the minimum for worry-free year-round use.
If you want to learn more about motion-sensing options and compare different available models, our article on solar motion sensor lighting will help you make an informed choice for your needs.
Final Checklist Before You Start
- ✅ Pathway length measured and number of lights calculated (1 every 6.5-10 ft)
- ✅ Pathway solar exposure checked (min. 3-4h direct sun)
- ✅ Light type adapted to pathway profile (bollards, spots, sconces)
- ✅ Pathway entrance planned with more powerful motion-sensing lighting
- ✅ IP rating adapted to local climate conditions (min. IP44)
- ✅ Solar panels south-facing, no shadows
- ✅ Batteries charged before first use
- ✅ Night test performed and dark spots identified
Properly lighting a garden pathway is a project that can be done in an afternoon if you've prepared well beforehand. Pathway lighting creates a polished ambiance, while a secure entrance with a powerful sensor provides true functionality. Both together, and your garden transforms at dusk.