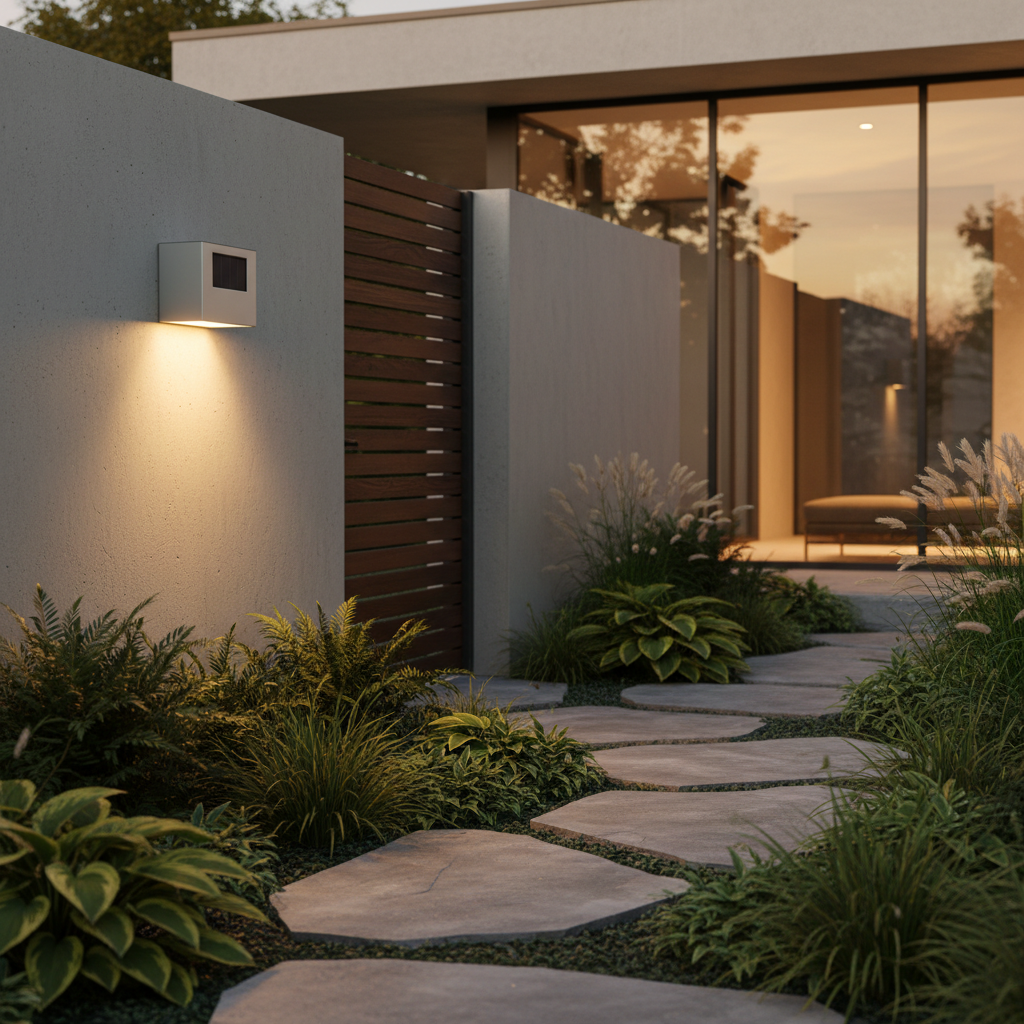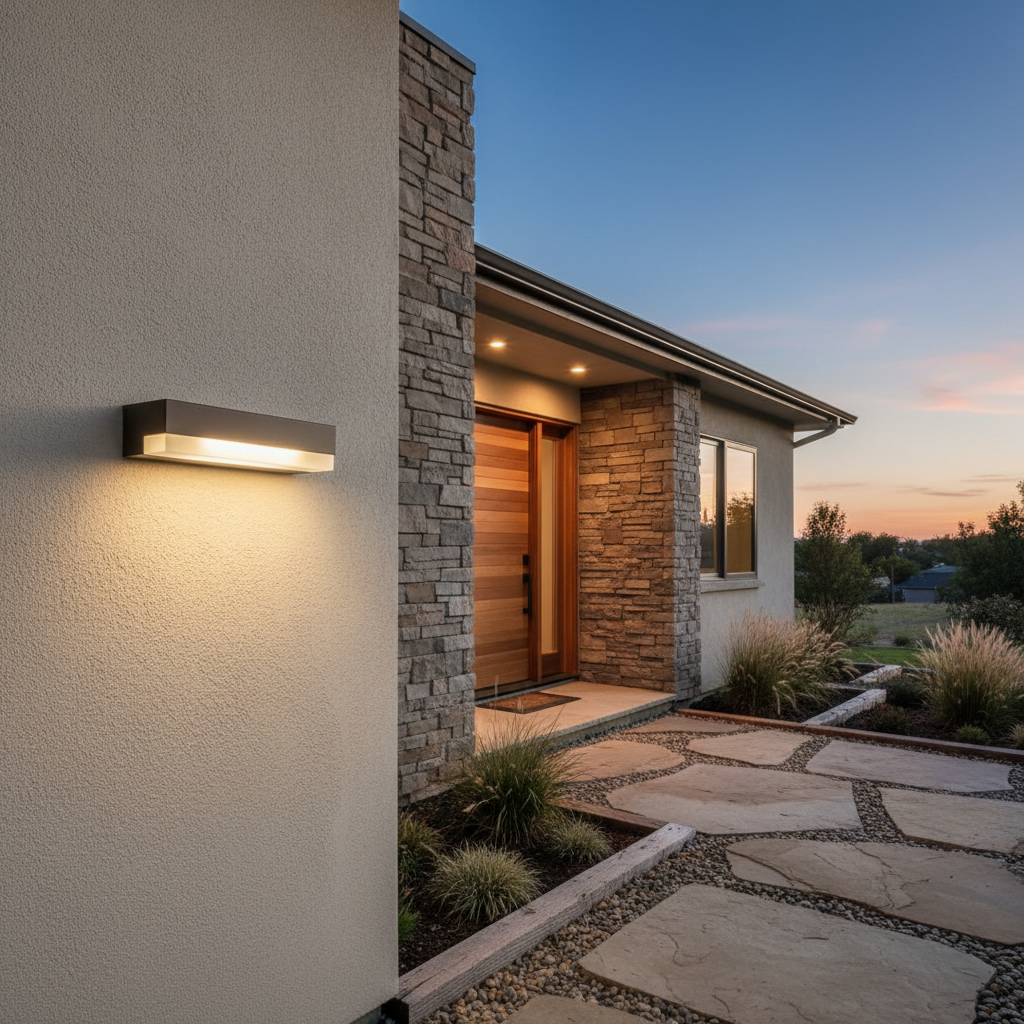
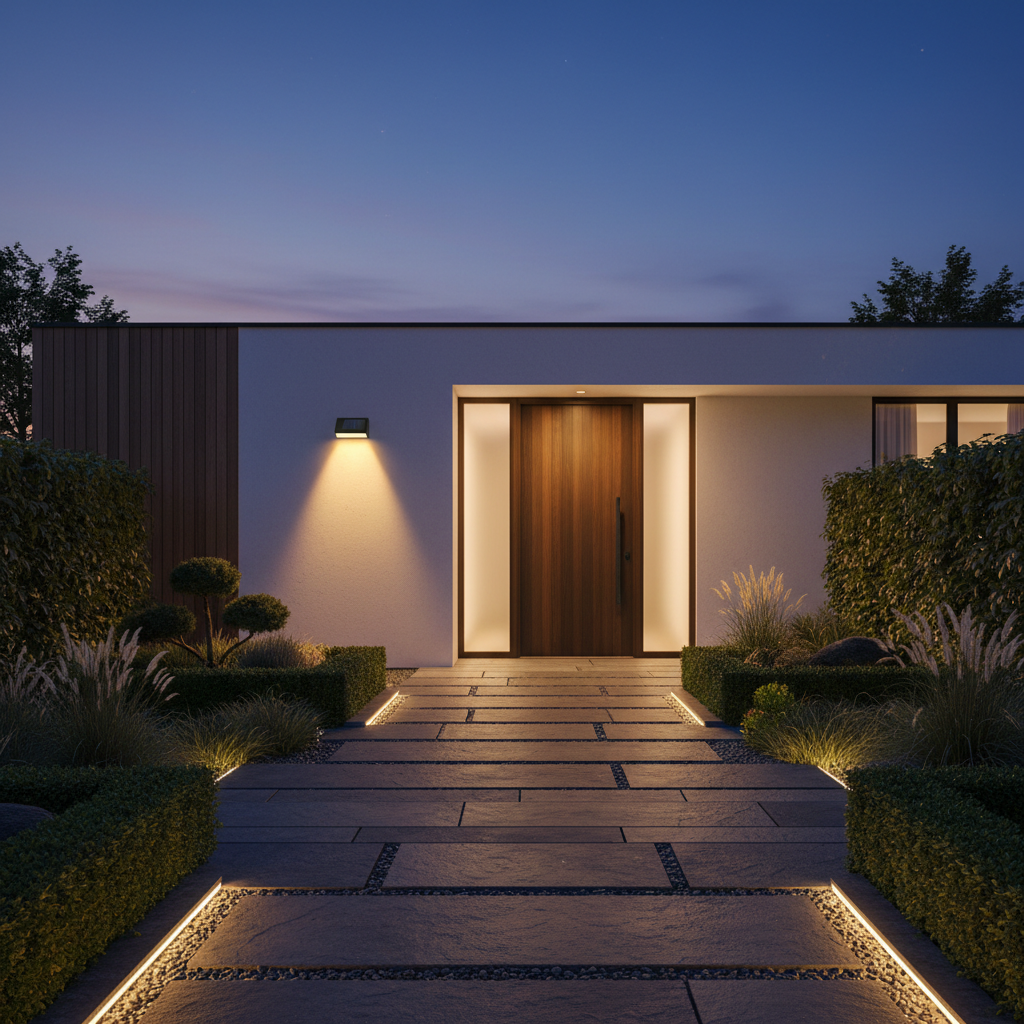
What Solar Power Really Changes in a Motion Sensor
A solar motion sensor isn't just a classic sensor with an added panel. The difference is fundamental: no power cables to run, zero electricity bills, and most importantly, no wires for a burglar to cut if they know where to look. This combination — reliable detection + total energy autonomy — is precisely why this type of product has become the go-to solution for securing an outdoor area without major work.
Practically, it changes everything about installation. No electrician needed, no conduit to run through walls, no circuit breaker to trip. You mount the sensor, aim it, and you're done. For renters or anyone wanting to avoid extensive renovations, it's often the only realistic choice. To understand the basic principles governing this type of equipment, check out our article on solar motion sensor lighting.
Why Solar Holds Up Even in Fall
This question comes up often, and honestly, it's legitimate. A poor-quality solar panel produces almost nothing under cloudy skies. But recent solar sensors incorporate two concrete improvements: a larger panel (which captures more diffuse light) and a battery sized to compensate for sunless days.
In practice, with a well-designed model in motion detection mode (which only consumes power during triggers), the autonomy is sufficient to get through several cloudy days without issue. Continuous mode, however, is much more power-hungry and truly depends on daily sunlight.
The only real limit remains north-facing exposure: a wall completely shaded all day won't properly recharge a solar panel, regardless of its quality. This is a physical reality, not a design flaw. In this case, a wired sensor remains the more suitable choice.
What's the Difference Between a Solar Sensor and a Wired Sensor?
A wired sensor draws power directly from the electrical grid — so it has unlimited energy but is constrained by its wiring. The solar model recharges itself but depends on exposure. For a well-exposed outdoor facade, solar outperforms wired on almost all practical criteria: installation, total cost, placement flexibility. For shaded areas or very prolonged continuous use, wired retains the advantage.
Key Technical Criteria That Truly Matter
There's a difference between the specifications listed on the box and what you'll actually observe once installed. Here's what truly counts.
PIR Technology: The Reliable Standard for Outdoor Detection
Almost all consumer solar motion sensors use PIR (Passive Infrared) technology. The principle is simple: the sensor detects variations in infrared heat within its field of view. A walking human generates a thermal signature different from the ambient air — the PIR captures it and triggers the light.
PIR is reliable, proven, and energy-efficient (crucial for battery operation). Its main limitation: it poorly detects movement directly towards the sensor (frontal approach) and is more sensitive to lateral movements. For a driveway or patio, it works perfectly. For a narrow corridor with a direct approach, less so.
Here are a few points to check on the technical sheet:
- Detection angle: 90°, 120°, 180° — a wider angle covers a larger area.
- Advertised vs. actual range: manufacturers often test under ideal conditions (low ambient heat, adult target). In summer on a hot patio, the effective range may decrease.
- Adjustable sensitivity: essential to avoid false triggers (wind in bushes, animals).
Ambient Light Sensor: The Truly Smart Bonus
Often underestimated, this is one of the most useful features of a well-designed solar presence sensor. The ambient light sensor (or photocell) prevents the sensor from triggering in broad daylight when artificial light is unnecessary.
Without this sensor, an overly sensitive detector will turn on at the slightest movement — even in the middle of a summer afternoon. With the photocell, it remains inactive as long as it's bright enough, and only triggers the light when truly needed. The result: much better battery life and more logical daily behavior.
Actual Range and Dead Zones: What They Don't Tell You
An advertised range of 26 feet (8 meters) means 26 feet (8 meters) under the manufacturer's test conditions. In real-world conditions, several factors reduce this range:
- High ambient temperature in summer (reduces the thermal contrast captured by the PIR).
- Obstacles: a hedge, a low wall, a post can create dead zones.
- Installation angle: too high or too tilted, and ground detection degrades.
- Small animals (cats, foxes) can trigger if sensitivity is too high.
The optimal installation height for an outdoor PIR sensor is generally between 6.5 and 8 feet (2 and 2.5 meters). Below that, small animals trigger too often. Above that, the detection angle points downwards, and horizontal range decreases.
How to Choose Your Outdoor Solar Motion Sensor: Key Criteria
To know how to choose an outdoor solar motion sensor suitable for your situation, you first need to clarify a few points about your installation context.
Assess Your Solar Exposure Before Buying
First, observe where you want to install the sensor. How many hours of direct or diffuse sunlight does it receive per day? With 3-4 hours of diffuse light, most recent models with a properly sized battery will work without issue in detection mode.
If the location is truly shaded (under a deep awning, north-facing facade in a less sunny region), consider either a model with a remote panel (the panel is separate from the sensor and can be oriented differently) or a classic wired model.
What IP Rating for Outdoor Use?
The IP (Ingress Protection) rating indicates resistance to elements. For an outdoor solar motion sensor, the reasonable minimum is IP44 (protected against splashing water). But for an installation exposed to heavy rain or coastal areas, prefer IP65 or higher.
The IP standard is read with two digits: the first indicates protection against dust (6 = dust-tight), the second against water (5 = water jets from all directions). An IP65 is therefore dust-proof and resistant to water jets.
Autonomy: What the Numbers Really Mean
Manufacturers often announce autonomy in days or hours. Here's how to read them:
- Detection mode: the announced autonomy corresponds to use with a limited number of daily triggers. If your driveway is heavily trafficked, multiply the triggers by their lighting duration for a more realistic idea.
- Continuous mode: consumes battery much faster — generally a few hours per night maximum without solar recharge.
- Sunless reserve: a good indicator is the announced reserve days (number of cloudy days the battery can compensate for).
| Criterion | Basic Model | High-Performance Model |
|---|---|---|
| Sensor Technology | Simple PIR | PIR + Photocell |
| Detection Angle | 90-120° | 180° (dual sensor) |
| Battery | Small Capacity | Large Integrated Capacity |
| Sunless Reserve | 1-3 days | 15-20+ days |
| IP Rating | IP44 | IP65 |
| Available Settings | Sensitivity Only | Sensitivity + Duration + Modes |
Installing a Solar Sensor: Mistakes to Avoid
Cable-free installation doesn't mean thought-free installation. Placement and orientation are crucial for your sensor to function correctly over time.
Solar Panel Orientation: The 45-Degree Rule
In the US and Canada, always orient the solar panel south, with a tilt of 30 to 45 degrees from horizontal. A vertical panel on a north-facing facade will capture five to ten times less energy than a well-oriented panel. If your sensor is mounted on an east or west-facing facade, it will work correctly but with slightly reduced efficiency.
Some models offer an adjustable or remote panel, which solves this problem: the sensor can be placed where you need it, and the panel oriented independently towards the best light source.
Sensitivity: How to Adjust to Avoid False Alarms
Optimal motion sensor settings often make the difference between useful and annoying equipment. An overly sensitive sensor will trigger when a cat passes, a branch sways, or a gust of wind. Not sensitive enough, it will miss actual movements.
The basic rule: start with minimum sensitivity, test for 2-3 days, and gradually increase until you find the balance. Most false triggers come from overly high sensitivity or poor orientation (the sensor aims at a mobile vegetated area).
Height and Angle: Maximizing the Detection Zone
For a driveway or house entrance:
- Install the sensor 6.5 to 8 feet (2 to 2.5 meters) high.
- Orient it perpendicular to traffic paths (PIR detection works best on lateral movements).
- Ensure no obstacles create dead zones in the area you want to cover.
- Avoid aiming directly at a public road or sidewalk (constant triggers).
Integrated or Separate Solar Sensor: Which Solution to Choose?
There are two main configurations on the market: the standalone sensor (which controls existing lighting) and the all-in-one (sensor integrated directly into a lamp or floodlight). Each approach has its advantages.
The Standalone Sensor: To Control Existing Lighting
If you already have outdoor lighting and simply want to add a detection function without redoing the installation, a standalone sensor can be integrated into the circuit. But be careful: in a solar version, it must still power the trigger circuit — this only makes sense in specific configurations.
The All-in-One Solution: Lamp or Floodlight with Integrated Sensor
This is the most common and easiest configuration to implement. The solar lamp with motion sensor integrates everything into a single housing: panel, battery, PIR sensor, photocell, and light source. One mounting point, one placement decision.
For large areas like a long driveway, a parking lot, or the back of a house, a solar floodlight with sensor offers significantly higher light output (several hundred lumens vs. a few tens for small lamps).
Lumic's SolarGlow: When Design Meets Real Criteria
If you want to avoid the usual compromises of low-end solar sensors, Lumic's SolarGlow was designed to precisely meet the criteria described in this guide. It features two 180° PIR sensors for maximum lateral coverage, an integrated photocell that prevents any triggering in bright light, and a battery sized to last up to 20 days without solar recharge in detection mode.
The result: triple intelligence — it detects movement, verifies it's actually dark before turning on, and recharges itself. No visible power cable also means no cable to cut: a discreet but real security advantage. With 1200 lumens and a detection range of approximately 26 feet (8 meters), it covers a standard driveway or patio without dead zones.
It is UL listed, resistant to rain, snow, and frost, and comes with a 5-year warranty and a 90-day return policy. Customer support is based in the US with a 24-hour response time. This is the type of product we recommend to someone who wants it to work without thinking about it for years.
Maintenance and Lifespan: What You Need to Know
A well-chosen and well-installed solar sensor requires very little maintenance. But a few simple actions maximize its lifespan and performance.
Cleaning the Solar Panel: When and How?
Dust, dead leaves, and hard water deposits significantly reduce the solar panel's efficiency over time. Cleaning every 2 to 3 months with a damp cloth (without abrasive products) is sufficient in most cases. In fall, make sure leaves don't accumulate on the panel.
The Battery: Understanding Its Aging
The lithium batteries in solar sensors have a limited lifespan in charge cycles. In practice, after 2 to 4 years, depending on battery quality and climatic conditions, you may observe a decrease in autonomy. Some models allow battery replacement, others do not. This is a criterion to check before purchase if you plan to keep the product for a long time.
What to Do if the Sensor No Longer Triggers Correctly?
Before concluding it's a malfunction, check in order: the battery charge level (especially after a very cloudy period), the cleanliness of the solar panel, the sensitivity settings, and the absence of new obstacles in the detection zone. Most triggering problems are resolved by adjusting orientation or sensitivity rather than by replacement.
Going Further: Integrating Your Sensor into a Coherent System
An outdoor solar sensor works even better when it's part of a global approach to outdoor lighting. Security and comfort rarely come from a single isolated piece of equipment.
For example, combining a solar motion sensor at the main entrance with a solar outdoor wall light with detection on the side facade covers both approach angles without any wiring. Each point is autonomous, each point is independent — if one has a problem, the other continues to function.
For people who want a truly hassle-free solution — no cables, no electrician, no extra electricity bill — autonomous outdoor lights with detection represent the most flexible approach. You place what you need, where you need it, without depending on an existing network.
Summary: Key Points Before Buying
- Check the solar exposure of the intended location (at least a few hours of light per day).
- Prefer a model with an integrated photocell (no triggering in broad daylight).
- Check the actual detection angle (180° covers much better than 90°).
- Verify the IP rating (IP65 minimum for direct rain exposure).
- Look at the battery capacity and autonomy in sunless detection mode.
- Ensure sensitivity is adjustable.
- Orient the panel south with a tilt of 30 to 45 degrees.